I'm unsure if this is a well-known hack but it seemed useful for a very common scenario, which is compressing images without reducing the width and height of the webp asset. So, today I encountered a situation wherein the original image assets were in 4 MB range and had to be reduced below 1 MB as part of audit recommendations. Now, it is probably quite familiar that in Content hub you can use the Convert image task to convert to webp format. No surprises here:
First of all, to understand what I mean, upload an approved asset:
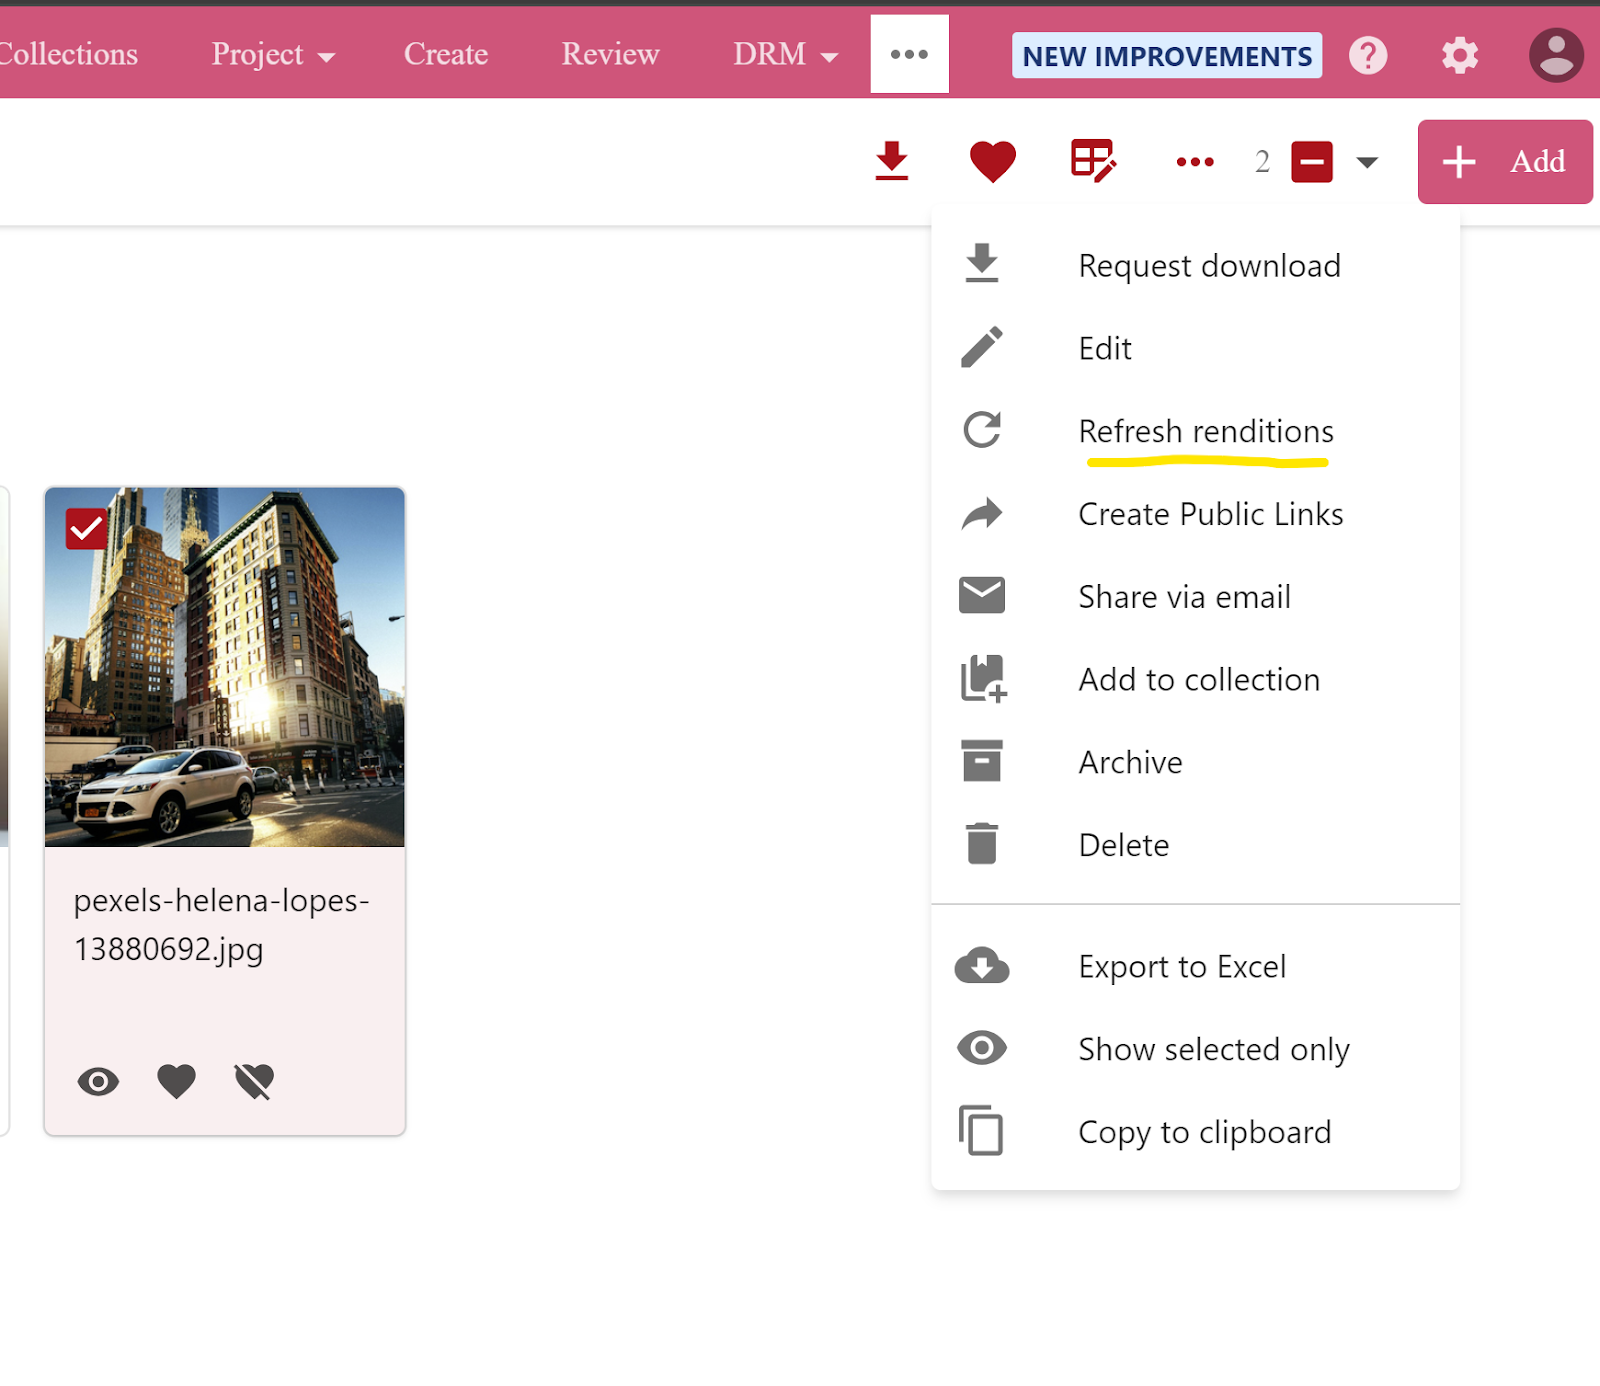
Next, click refresh rendition for the compression to take effect considering that the web flow task is originally published:
At this point, the compression is done but wouldn't be in a desirable range - Could be a 90% compression in size or 50% size compression depending on the dimensions of the image.
So, add another task to do the compression flow and this time the Content Disposition is inline since it takes the input from the renamed (original) Intermediate task and the whole media processing flow looks like this:
Save task > Save flow and Close.
Remember to publish the change:
Again, go back to Assets page, search the asset by its name and since it would be selectable after search, click refresh renditions as before and submit. My toggles for reference:
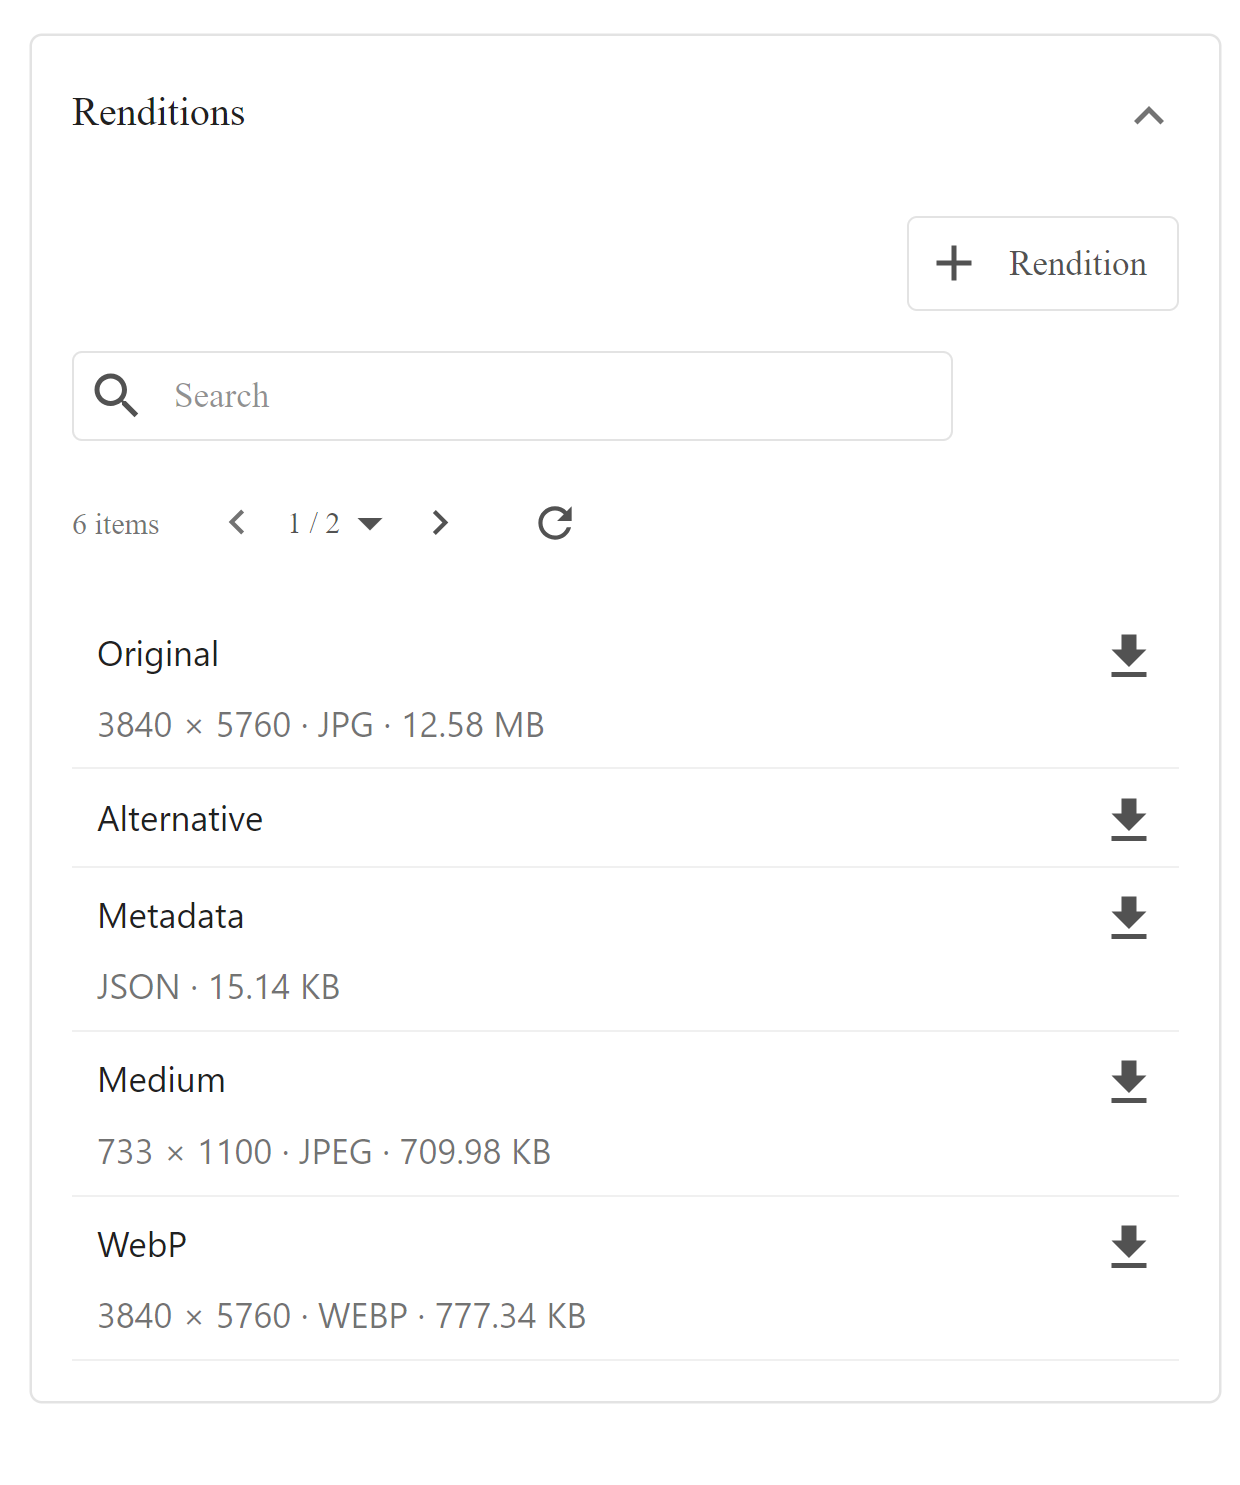
This would trigger a mass edit job and once the job is complete, a toast would appear. Then, go back to the asset, the refresh takes a few seconds to take effect here and you should see the webp format with the new size change then:
Now, with the addition of the second convert image task, we have an overall compression of around 75%, which is definitely a very good gain. I wouldn't mind creating a separate flow with multiple convert image tasks in a series to get the compression I desire that I could apply for large images alone. Just for reference below, when I applied 5 convert image tasks serially, I could get more than 10 times compression. So, for the ones wherein the compression process wasn't effective, my suggestion would be to re-look at the original image generation process itself.
Another observation: RGB colorspace "seems" to offer better compression compared with sRGB colorspace. Also, when i changed sRGB colorspace to RGB using an online converter like
this and tried compressing, the result was better. For reference, CMYK was the resulting colorspace from the online tool. On the other hand, if the colorspace was RGB already and the image is already compressed to webp format, it couldn't be compressed much unless converted to CMYK colorspace.
Colorspace:
Effective compression:
Bonus tip:
File size is an important option to filter assets by. Since file size might not appear as a default option in Assets page - https://contenthub-xxx.abc.com/en-us/Assets, here is how to configure file size as a filter.
Go to Admin Pages: https://contenthub-xxx.abc.com/en-us/admin/page
In the left pane, select Assets and in the right pane, within the Layout tab, select Search in the Main Zone.
Now, you should be able to include additional fields in Query builder tab and there is Filesize as an option. Select the same, click save to add this option to the option list and then click Save and Close for the page.
Back in the assets page, once you hard reload the page - https://contenthub-xxx.abc.com/en-us/Assets, you should be able to apply filter by filesize:


Comments
Post a Comment