Generate and Store Sitemap xml as Sitecore content item and display sitemap.xml for rendering host using GraphQL
Disclaimer: This is a bespoke solution, NOT recommended by Sitecore, using GraphQL and was attempted for the Sitecore MVP site since it doesn't have a sitemap.xml and is not built on SXA headless. Note that for XM Cloud, Sitemap must ideally be built using the OOTB capability.
In cricket, I have heard that a good batsman has three different shots for the same ball, this post is inspired by those lines!
My earlier blog post was about generating and rendering sitemap in an one-shot linear approach. In the same post, I had written about a common approach to generate sitemap xml and render it in two separate stages applicable for larger websites. This blog post covers that aspect applicable to headless sites. Although I don't have an XM Cloud instance to test the whole code, with my basic understanding of separation of concerns, I "presume" this is on correct track!
Anyway, first things first:
High-level overview:
- Content editor generates and stores the sitemap xml in Master db for anytime publish
- Published Sitemap XML is accessed on-the-fly by the end-user through GraphQL
- Suitable for larger sites
1. Setup Sitecore Content Serialization
a. For Core db items
2. Generate Sitemap xml on click of CM ribbon button
b. Create ribbon button
c. Link ribbon button to custom code
d. Create Sitecore template for Sitemap content
e. Insert Sitemap item using custom code
3. Retrieve and render Sitemap xml for rendering host
f. GraphQL query for Sitemap item retrieval
g. Render Sitemap view
a. SCS for Core DB items:
######
######
b. Create ribbon button:
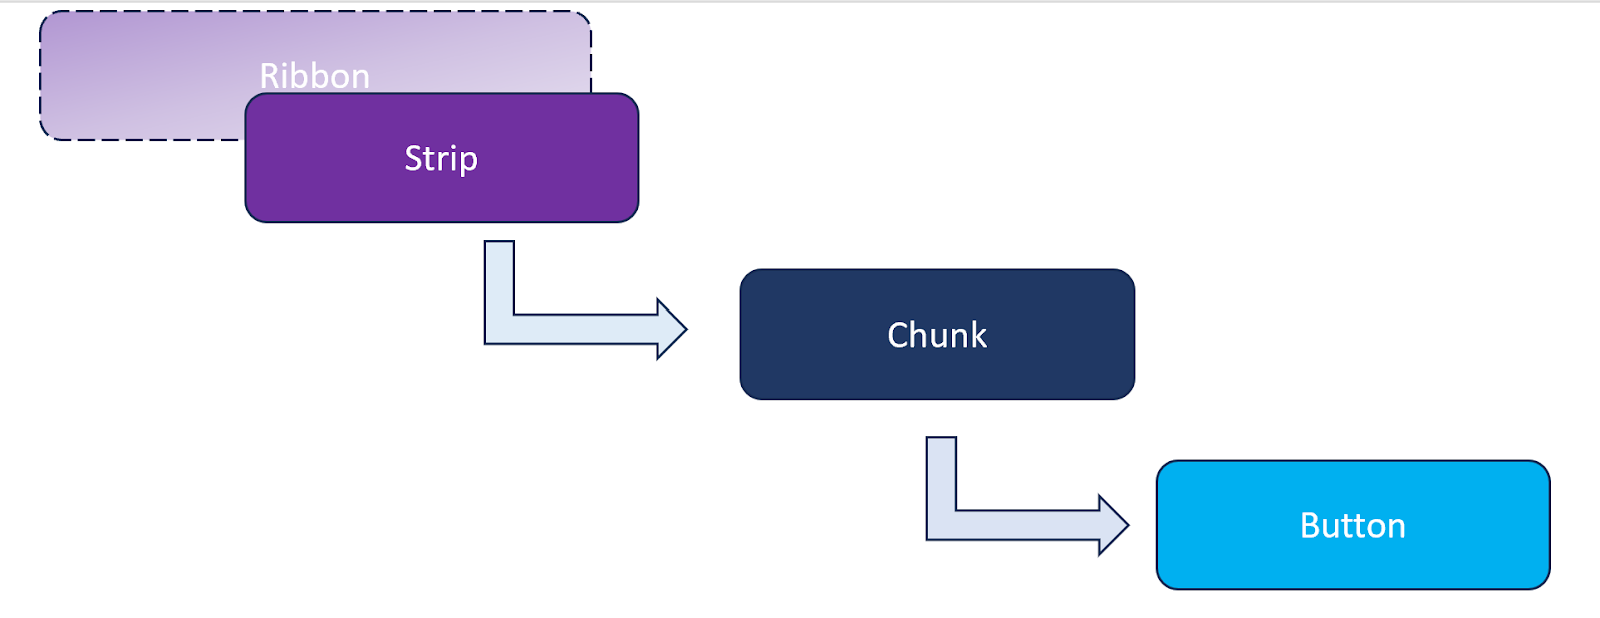
There are many old posts (check references) to create a chunk, menu etc. but if you are a seasoned Sitecore developer, the process is fairly intuitive once you are in Core db.
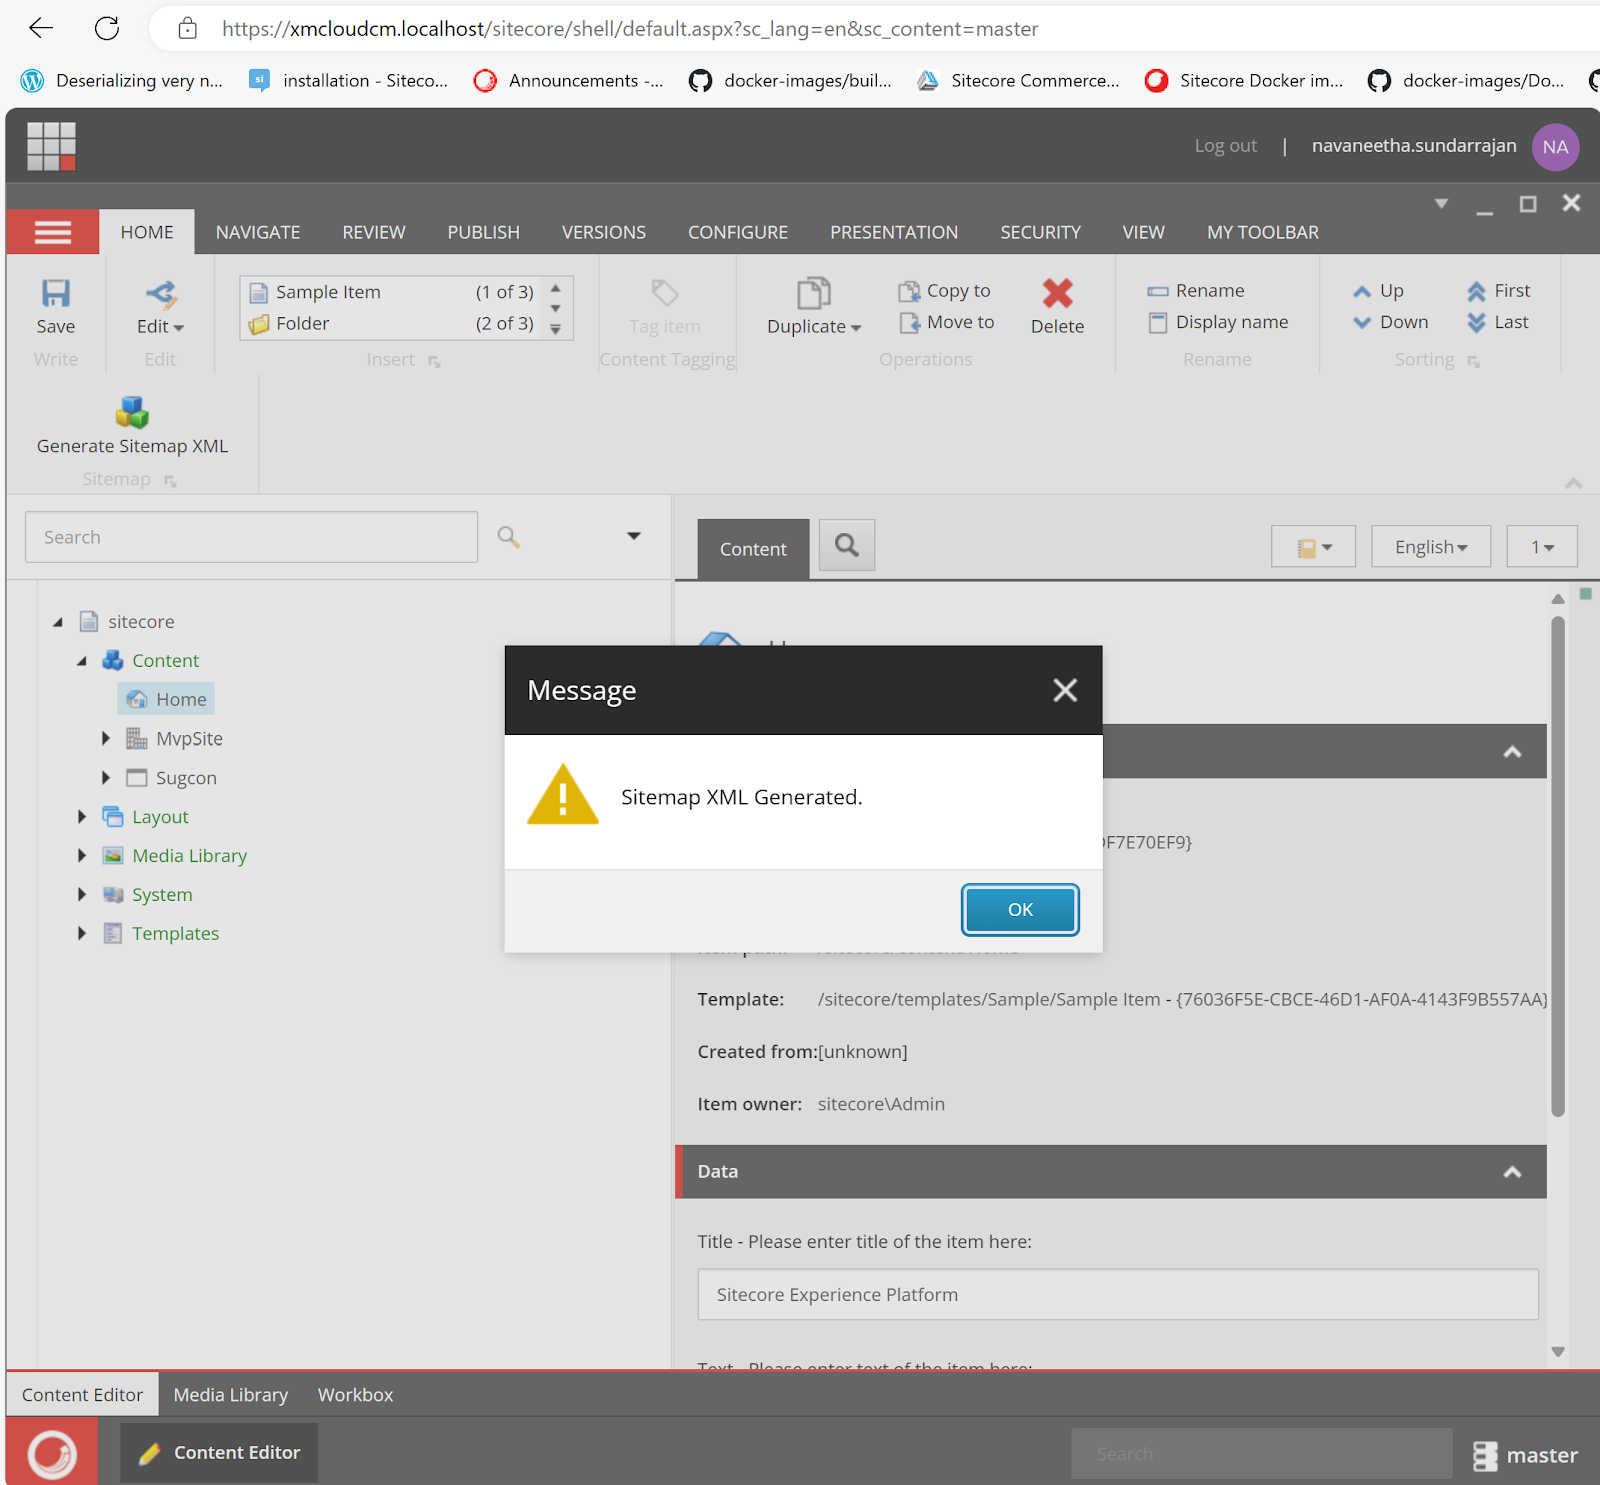
In the current scenario, the Generate Sitemap XML button resides within the Home strip. Since there is nothing more to group along with this button, the button is a standalone within Sitemap chunk as of now!c. Link ribbon button to custom code:
Although there are a lot of references listed below with regard to linking a Core button command to C# code, as a refresher, this is how the Core db button' Click event is linked to C# command (name) using a Sitecore patch config.
The most important aspect when working with headless architecture is, the Sitecore (CM) side of functionality must be added to the platform project, in this case, the c# class/config is added to Mvp.Project.MvpSite.Platform project.
Patch Config:
*********
*********
C# Event handler:
##########
##########
End-result:
d. Create Sitecore template for Sitemap content
Sitemap.module.json:
*********
*********
Result of SCS pull:
Also, Sitemap content item created under Shared content and serialized to file system:
e. Insert Sitemap item using custom code
Now, the next step is to insert the actual MVP sitemap xml to above content item through the SitemapGenerator command event handler.
Code without ORM tools like Glassmapper:
####################
####################
XML Data in Sitemap field:
f. GraphQL query for Sitemap item retrieval
There are so many blog posts for writing GraphQL queries like this exhaustive one by Amit. In those lines, the GraphQL query could be an item query or a search query but believe me, the challenge I faced is not in writing queries but mapping the C# fields to the GraphQL resultset.
Search query, for instance:
########################
########################
The item query could look like this:
#######################
#######################
Or, something like this:
#######################
#######################
The most important aspect is the C# object model since that will change as per the results - this is known to any C# developer. Then, the other aspect I spent quite many hours receiving an object null reference exception is due to the fact that the name of Sitecore field (SitemapXml in this case) must match the C# property name although class name can be different:
g. Render Sitemap view
The rest of the aspects are same as the earlier blog post except passing the data in proper format using this method before passing back to the controller method:
End-result:
Titbits:
Debugging CM instance Code:
Note that the key difference in case of the MVP site debugging is, rendering host is debugged by attaching to dotnet process while cm instance is debugged by attaching to w3wp process and dotnet framework version selection is key as part of this process. In case of rendering host, the version is automatically detected and selected but in case of cm, the selection must be done manually (Attach to field)!
An unhandled exception occurred while processing the request.
System.Threading.Tasks.Task.ThrowIfExceptional(bool includeTaskCanceledExceptions)


Comments
Post a Comment