How to setup a Media Processing Flow in Sitecore Content Hub
Although the Sitecore Content Hub Documentation is good and there is an elearning module for Sitecore Content Hub, there are a few areas everybody might interpret differently and have issues as a result. For instance, I was trying to setup an image processing flow in the Sitecore Content Hub, once I setup the flow, it was a bit difficult for me to figure out where to find the results! It required me to do some to and fro between pages. So, this blog is for people like me who are struggling to find things after they do!
In this blog, I'm going to setup a media processing flow first and see if what I setup is reflected in the asset rendition. Note that I'm using media and image interchangeably here although image is a subset of media!
Before getting started, here is my representation of the media processing flow:

Definitions:
Job processes multiple sets
Set has a workflow
Workflow has tasks
Asset is processed as input by a workflow to produce multiple renditions as output
Scenario: For all GIF images uploaded, automatically create a rendition that will be 50px by 50px irrespective of the image aspect ratio
Again, the elearning module for Sitecore Content Hub is good at detailing how to setup a workflow:

Based on the same, you shouldn't have issues adding a set and then a flow within a set. Beware of the naming convention here, a flow is created within a set!
I've just created a set in my Sandbox -

Now, the navigation from here is a bit tricky, you won't see an explicit edit button. There are two options on the row:
A. if you hover the row, you will find the Edit tool-tip so, clicking the row will open the following window:

B. On the other hand, if you click the cogwheel in the row, can edit just the flow settings:

Since I want to setup a media processing workflow, I'm going with option A and click the + sign in the middle of the window and, I get this option to add a new task:

To start with, I desire to Convert an image so, click Convert an image option appearing to the right on clicking the task and I get this dialog:
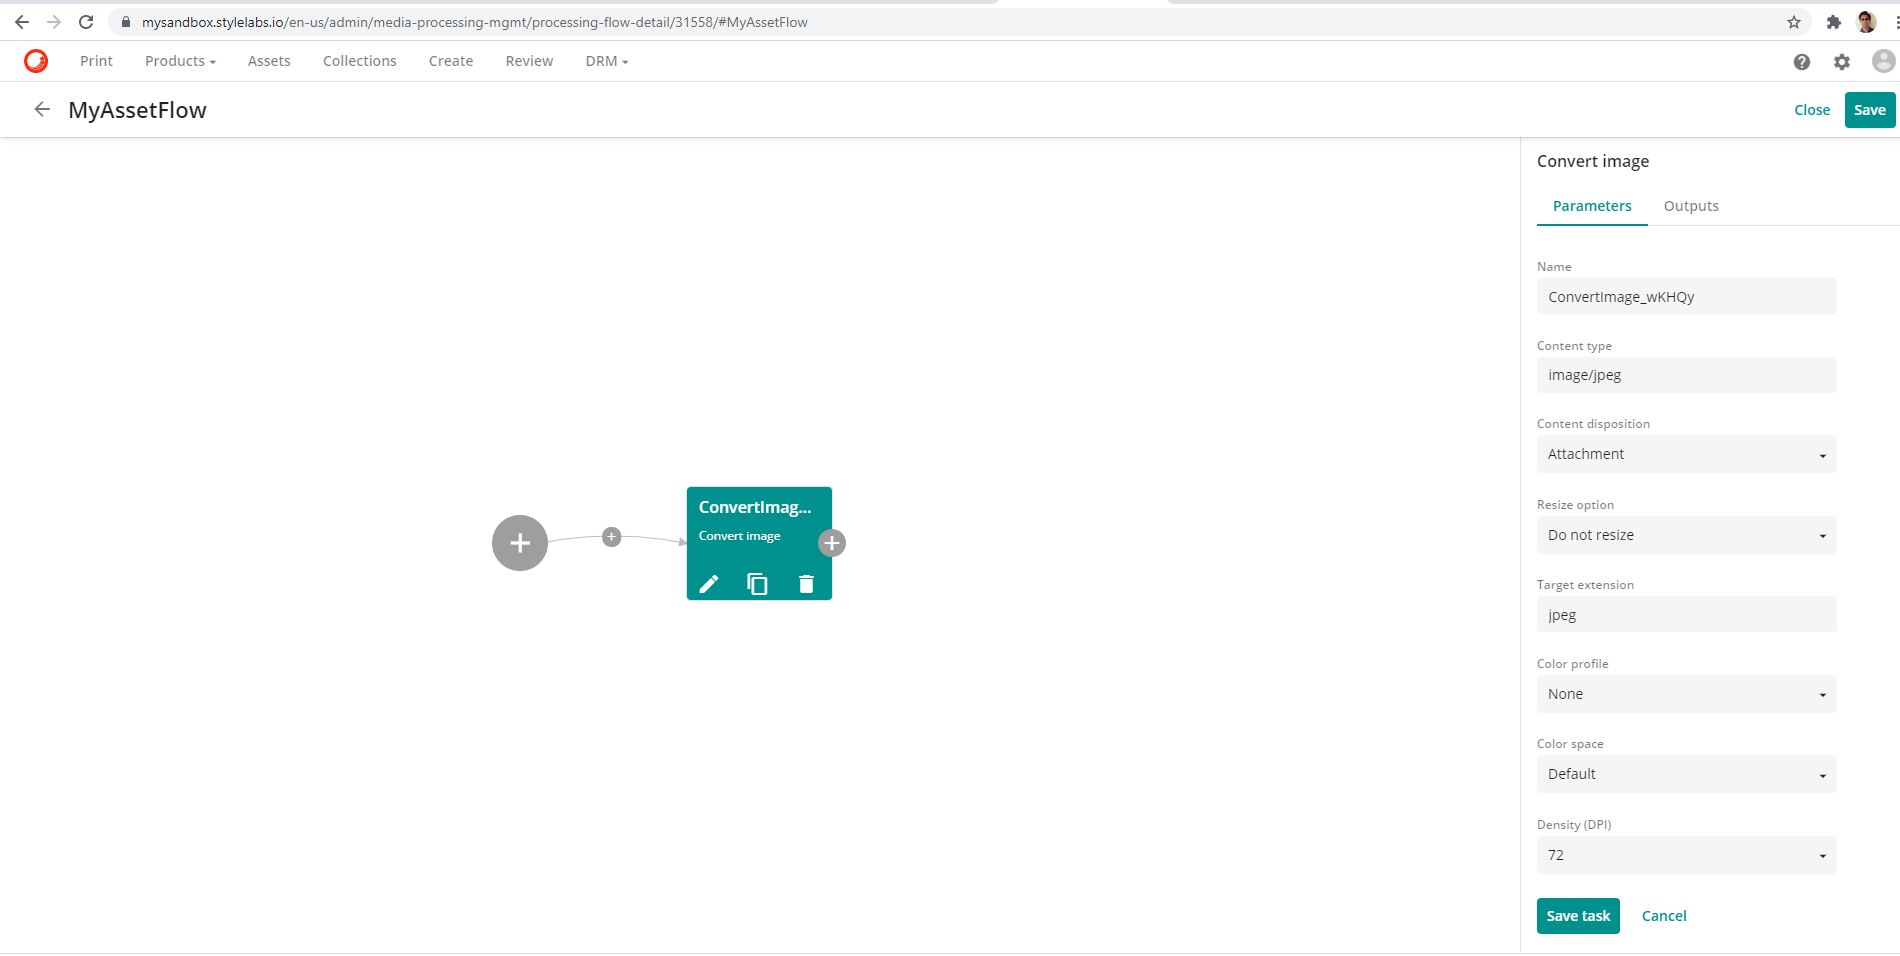
This is how I setup the flow parameters targeting gif file type:

So, irrespective of the dimensions of the image, I want to convert it to 50px by 50px and ignore aspect ratio for my case.
Next, the most important tab is the Outputs tab that is useful in specifying the name of the rendition that must be generated by enabling the Store output switch displayed here:

Then, click on the New link to setup other details of the rendition:

I enabled watermark to see what happens!
Once I click the save task and exit the window, then comeback to see that there is an edit link now and it means that everything is saved fine:

Once you save and close, there is an option to publish, click the publish button. Next, let us navigate to the assets page and refresh renditions in order to fire the workflow on existing files, this option is available when you do a mass-edit of the assets:

Click the submit button:


Comments
Post a Comment