How to install Sitecore 9.1.0 using SIF with Sitecore Complete Install Assistant (SCIA)

 1. Right Click the exe and "Run as administrator". The mdi form opens up:


2. Provide your sql server credentials and click connect button.

3. If you are logging in for the very first time, you won't find the versions if you click the "Set Versions" menu button - 

4. In order to populate the versions, click the "Setup versions and prerequisites db table" menu button - 


5. On Clicking the "Setup versions and prerequisites db table" menu button, the following form opens up, click the create button since we want to create and populate both the db tables -


Next, since we will deal with a lot of PS scripts, before executing any Powershell cmdlets install the SIF module by clicking the "SIF Module Install" button in the mdi main form menu - 

6. Once the DB is populated, on clicking the "Set Versions" menu button (step 3), the Sitecore versions form must now be populated - 


7. Select the version for which you want to run the install, since we want to run for Sitecore 9.1.0, select Sitecore 9.1 in the above list and press the save button.


8. Once you save the version, you should see the Sitecore Install Framework (SIF) menu button enabled in the menu bar - 

9. On clicking the above menu button, the SIF for Sitecore 9.1 form will pop-up:


You should also be able to see the Sitecore version here  in this form based on your selection in the Sitecore Versions form

10. Now, the first step is to click the "DB Connection Check" button in the menu bar here in this newly opened form - 


11. Since this is the first time you are using the application, you will see the settings form pop-up automatically. For now, just accept the settings as-is and click the "Save" button in the bottom. If prompted for Braintree info, just put some string values since its not relevant for SIF installation and click the save button.


12. Now, close and reopen the original Sitecore Install Framework (SIF) for Sitecore 9.1 form and click the "DB Connection Check" button again and you should be able to traverse to the next "Site Info" tab -

13. At the same time, the "Show prerequisites" button will also be enabled in the menu bar -
Clicking the button will launch the Prerequisites form.

Note that if you already downloaded the Sitecore 9.1.0 package zip from SDN, you don't need to login to SDN as stated in step 14. You just need to copy over the zip and license file in the same location as the exe -


14. On the other hand, if you haven't manually downloaded the zip file,  you need to "SDN Login" in order to download the packages automatically. So, click the "SDN Login" button in the mdi form and provide SDN credentials in the form and connect - 


15. Once logged in to SDN, back in the prerequisites form, click the "Download and Setup All pre-requisites" link :

Note that if you downloaded the zip manually, even then you need to click the above link. Ideally, the link sets up the environment and the download happens optionally.

16. Before clicking the above link, ensure the license.xml is copied to the same location as the exe in the file system (as shown in the screen shot in step 13) and then click the link. This goes off and downloads the necessary SIF files and unzips the files in the same location as the exe -

17. This could take a few moments. Once the prompt returns in PowerShell, you should be able to see the folder setup in the file system -


18. Now, back in the prerequisites form, click the "Install Prerequisites" button to run the downloaded Prerequisites.json file -


19. While the earlier step downloaded and unzipped all necessary files. The "Install Prerequisites" button click will launch Powershell and install all the prerequisites listed in prerequisites.json -


20. This should deploy the iis folder under c:\program files folder among other prerequisite installations- 


Note that the msdeploy.exe sits under C:\Program Files\IIS\Microsoft Web Deploy V3 and its used by the SIF installation. Its a very important utility for the installation process.

21. Once the PowerShell prompt returns, close the prerequisites form and go back to the SIF Installer for Sitecore 9.1 form and Enter the Site Prefix and press the next button in the menu bar -


14. The next tabs will be auto-filled:


Note that the other navigation buttons will be enabled only after you cross the Site Info tab.

15. The only info missing will be the Solr info. If you already have a Solr url, you can enter the same in the Solr Url field and press the "Solr Check" button in the form's menu bar:

If you already have a Solr Url, skip steps from 16 to 19.

16. You can also create a new Solr Url/service using the mdi form by clicking the "Solr Installer" menu button in the main mdi form - 


17. Provide a relevant prefix and available port to install Solr - 

18. Clicking the install button should launch the Solr installation -

19. Wait until the command prompt returns and since you have a solr url now, test the url in the browser and add the same to the Solr Url field if the url works fine.

20. Back in the Sitecore Install Framework (SIF) form, since I entered the value in the Solr url field and pressed the "Solr Check" button it automatically populates the other fields:


21. Click the "Validate All" menu bar button to cross check if all necessary fields are filled-


22. Time to launch installation by clicking the "Install" button -


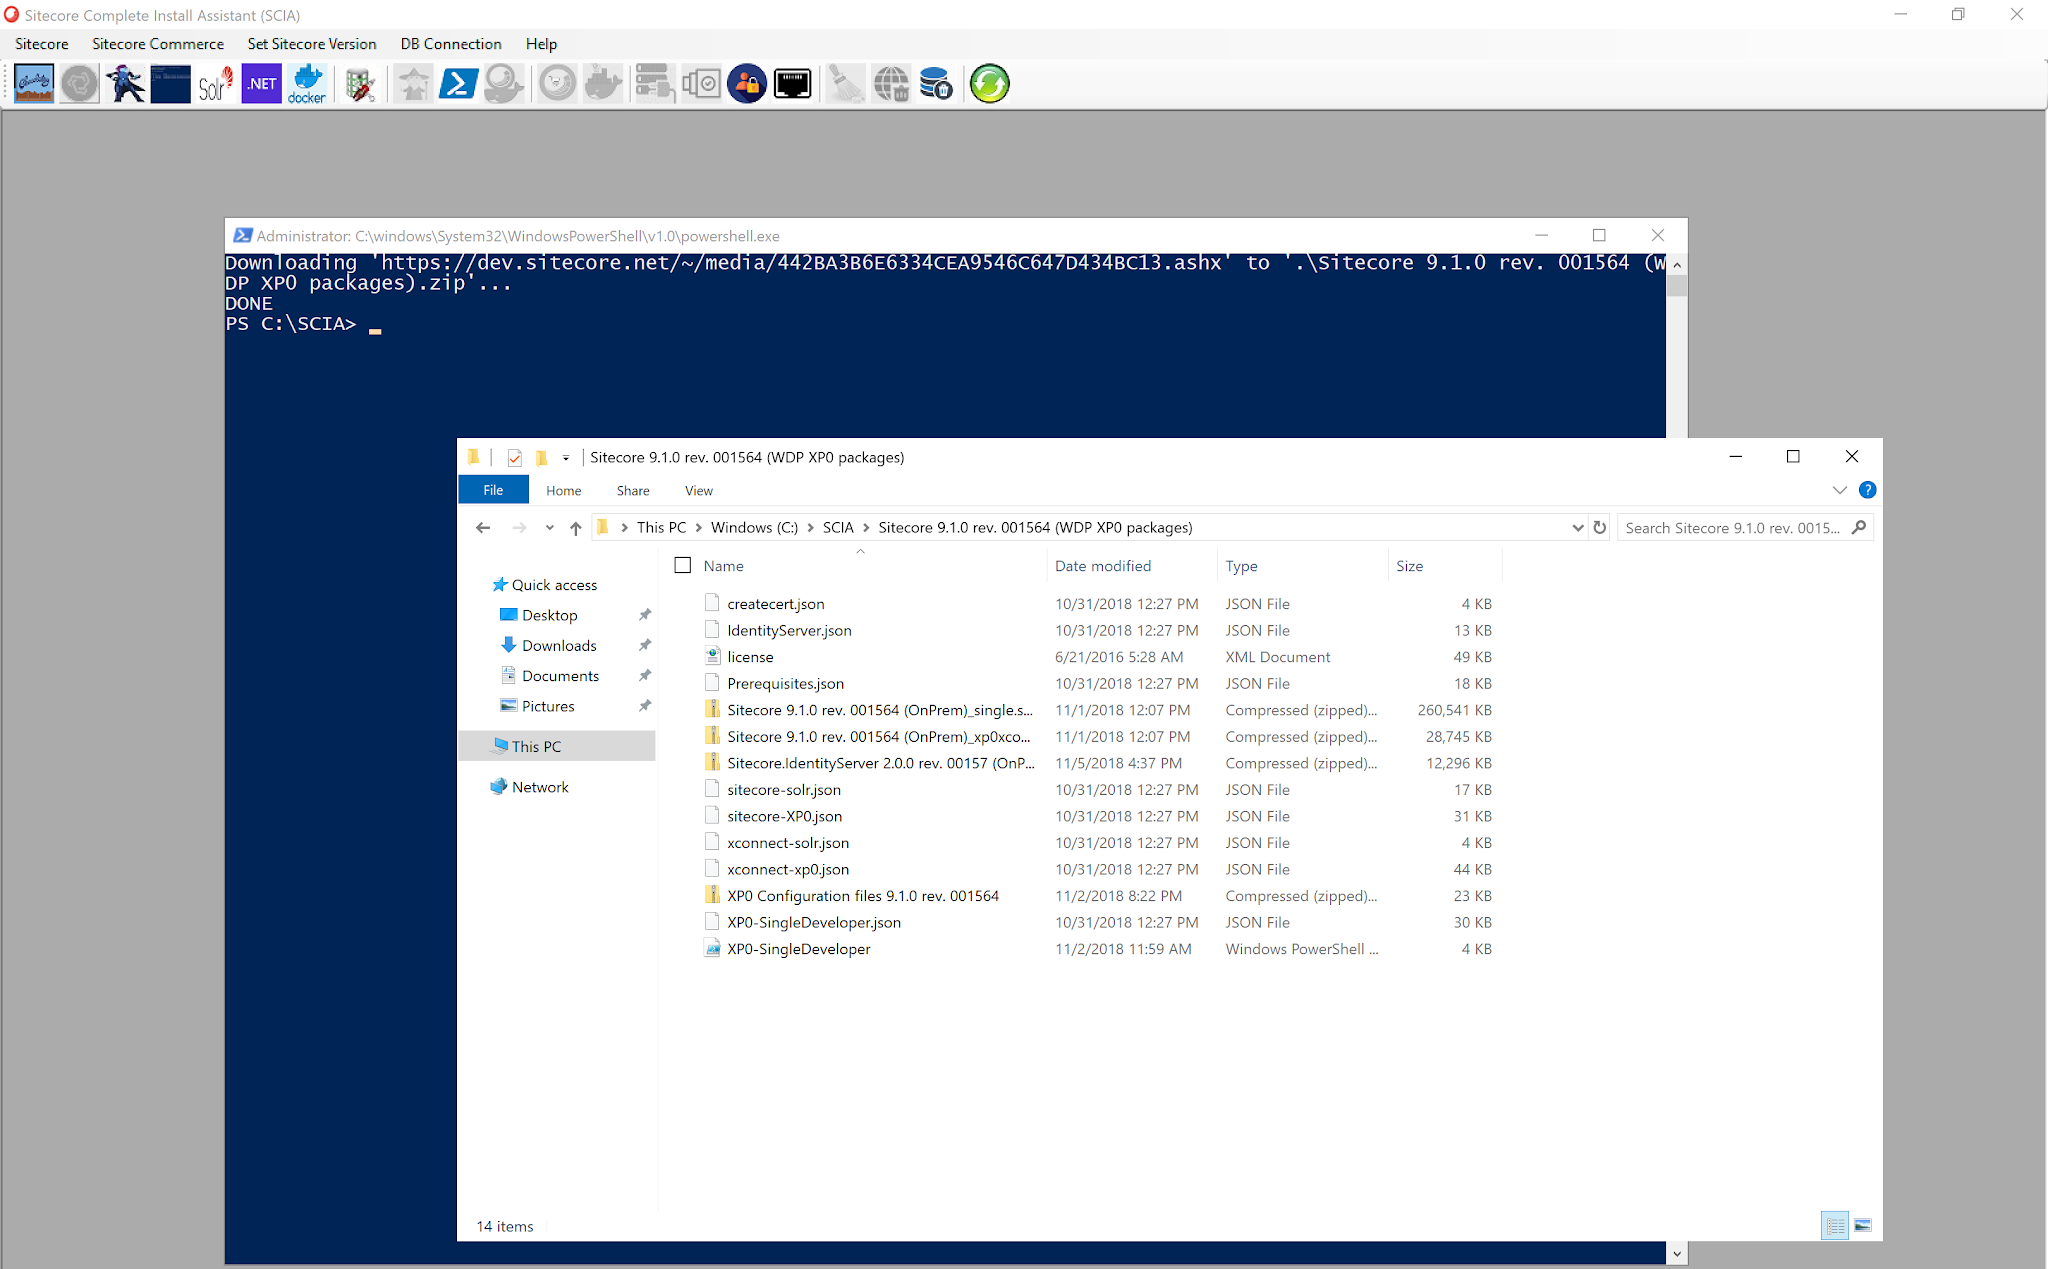
23. Powershell will be launched for the installation process:


24. If you check the file system, you can find the relevant PS scripts generated by the application prefixed with "SCIA-".

25. As of now, in case of uninstall too, you need to provide the Solr url but, going forward this will ideally be persisted and come from the database.


Comments

Popular Posts