In one of my earlier posts, I covered the Sitecore CLI PowerShell Script that downloads XMC logs from a Sitecore XMC environment. In this blog post, I cover the second part wherein I send the logs to a Splunk endpoint for ingestion. I also collate the logs in a local folder to facilitate filter and analysis of logs using SCLA - a capability not present in Sitecore XMC logs. As part of this approach, I also setup the scheduled task(s) auto-triggering the download and subsequent Splunk ingestion process. Although the ideal path "might" be to setup something in Azure that triggers and facilitates Splunk ingestion, the scheduled task used here is more of a self-contained approach to showcase the e2e flow - useful when you want to PoC the feasibility without waiting for access to Azure infrastructure in a long-winded, process-oriented environment. Furthermore, it is good to have multiple ways to accomplish the same end-result. This mindset not only improves confidence among stakeholders but also shows the capability of Sitecore CLI and PowerShell as such. So, without much ado, here are the steps involved:
How to create a scheduled task that downloads XMC logs in a periodic interval?
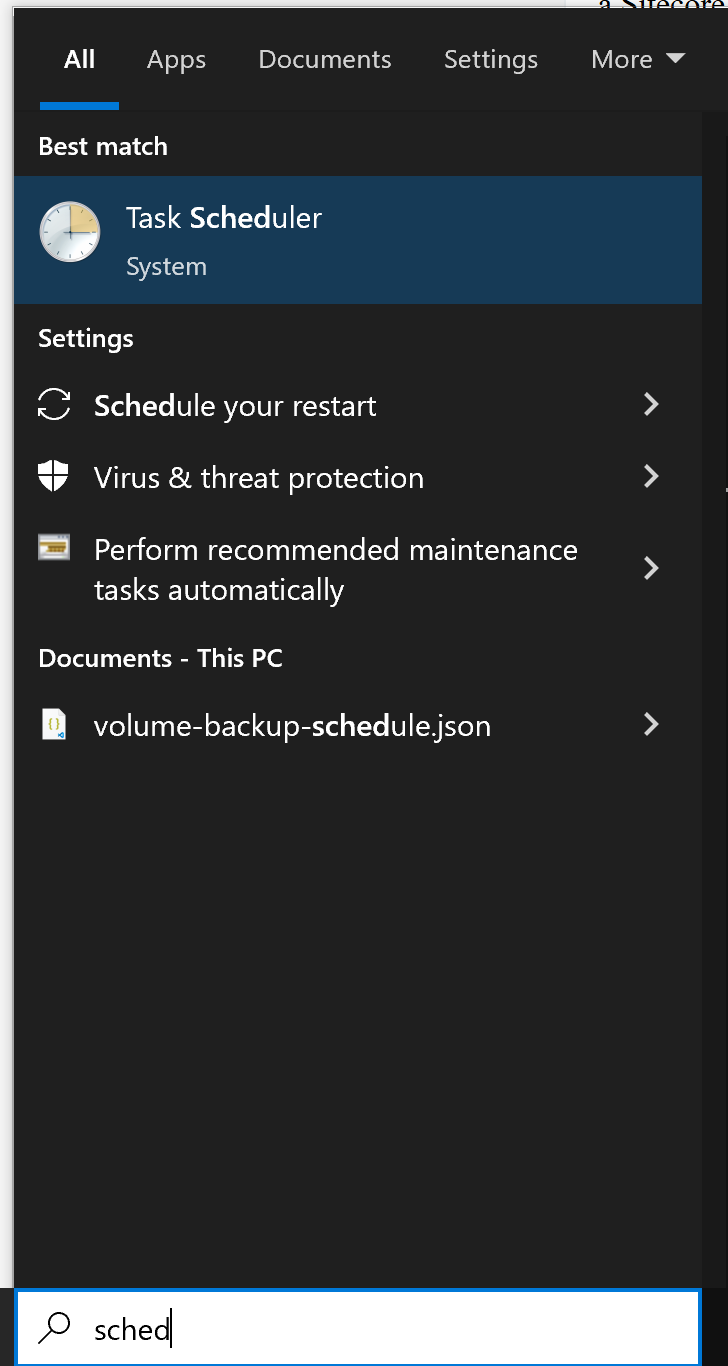
1. Windows Start menu > Task scheduler:
2. Task Scheduler library > Create Task:
3. Provide a meaningful name for the task:
Name: XMC Dev Env log download
Then, Click Change User button and provide admin credentials, in case if your windows login user doesn't have local admin permissions, since this would be used during task execution (prefix the relevant domain name, say devops, so that the user name is identified while you check name - devops\nadmnxsundarajan):
4. Then, select Run whether user is logged on or not since the windows logon user is different from the admin user in this case:

5. In the Triggers tab, Click New button to open the trigger window.
Since I want the scheduled task to run every 15 minutes without any end date/time, I make the following selections:
Under Settings, select One time
Under Advanced settings, select Repeat task every 15 minutes
for a duration of Indefinitely
Enabled - leave it checked
6. Next, in the actions tab, click New action.
In this case, I want the download logs PS script to be executed first. The name of the script is download-xmclogs.ps1 stored under c:\code in the machine. I also want the messages to go to log file and so, the log file name full path after *>
While, Start in specified the working directory for the PS Script
Program/script: C:\Windows\System32\cmd.exe
Add arguments (optional): /c powershell.exe "c:\code\download-xmclogs.ps1" *> "c:\code\download-xmclogs.log"
Start in (optional): c:\code
Download-XMCLogs.ps1
7. In the Conditions tab, leave everything as-is:
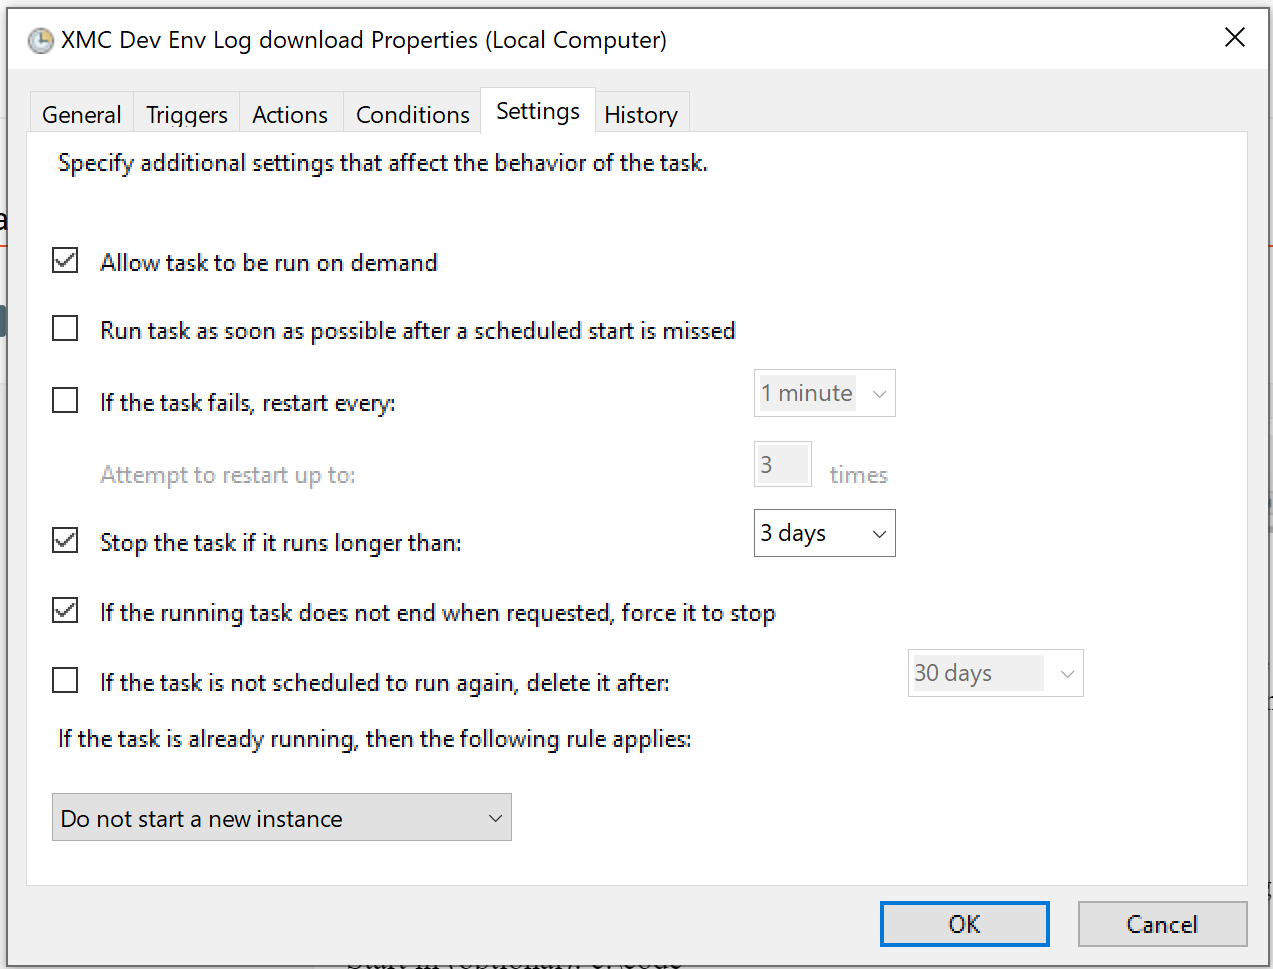
8. In the Settings tab, leave selections as-is:
9. The created task will look like this in the pane:
The important columns in the above pane are:
Next Run Time: When the task will be triggered based on the interval and start time specified in the trigger
Last Run Time: When was the task run last based on the specified frequency
Last Run Result: Task status 0x0 means successful run without any errors
The history tab is quite useful to check the execution status of the scheduled task:
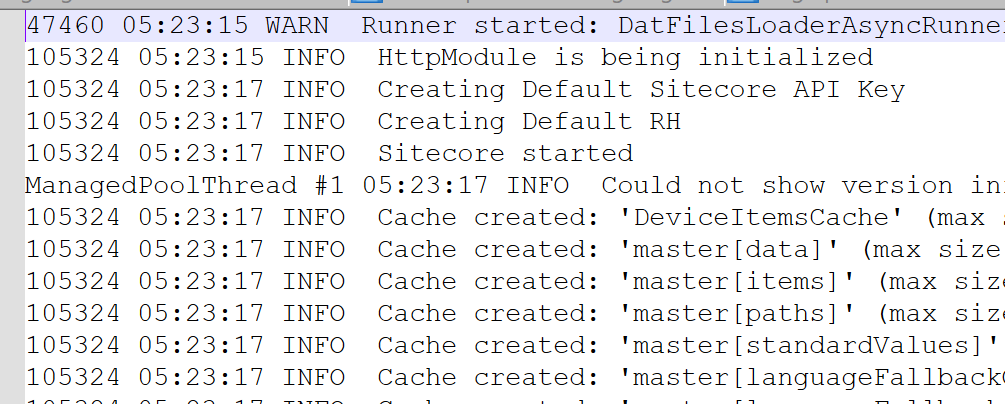
One of the glitches with Sitecore XMC log files is, old log files (back in 2024) don't have a date in each line. So, you might need to get the date from the log file name and pass to Splunk if you are doing a one-time download of old files before sending to Splunk for ingestion. The recent log files do have date in each line. So, if your log integration is going to prod now, since each line has the date, no need to do any pre-processing before sending to Splunk for ingestion.
Old log file (15/Oct/2024):
New log file (24/Jan/2024):
PowerShell Script that uploads log files to Splunk endpoint
Prerequisite: Need a Splunk endpoint (http url and http header) as per this documentation that can be sent a successful curl request:
E.g., curl https://hec.example.com:8088/services/collector/event -H "Authorization: Splunk B5A79AAD-D822-46CC-80D1-819F80D7BFB0" -d '{"event": "hello world"}'
{"text": "Success", "code": 0}
For instance, if you want to send an entire log file, this should work:
curl --data-binary "@C:\git\sitecore-splunk-logs\Scripts\envlogs\logilename.txt https://http-inputs-abc.splunkcloud.com/services/collector/raw -H "Authorization: Splunk B5A79AAD-D822-46CC-80D1-819F80D7BFB0"
Actual PS Script that uploads log files:
The following PS script, gets the log files from the delta folder where latest log files are downloaded and present, then it uploads just those files to Splunk endpoint while subsequently moving over these files to the actual log files folder where all files are maintained. The cumulated log files folder can be useful in using SCLA to filter/analyse the log files locally.
########
########
Similar to the earlier download PS script, this script will be part of another scheduled task.
Note: Logically, this windows scheduled task should run after an interval of few minutes following the download task!
Remember to whitelist the computer ip address in Splunk cloud config to receive the logs.
The log entries in the log file created via the PowerShell script are always useful for debugging:
SCLA:
Splunk search results:


Comments
Post a Comment